 |
 |
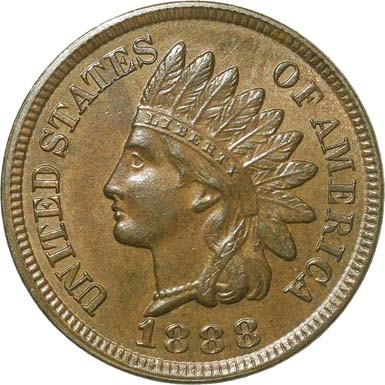
Obverse 1.2 |
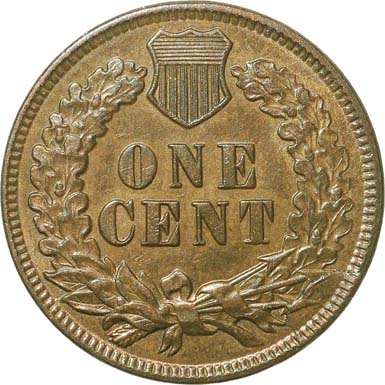
Reverse A.2 |
Obverse Diagnostics
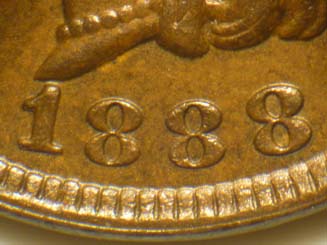 Date Position |
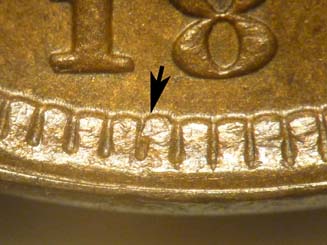 Misplaced 1 In The Denticles |
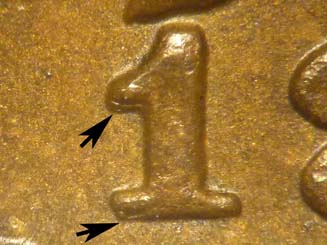 Repunched 1 |
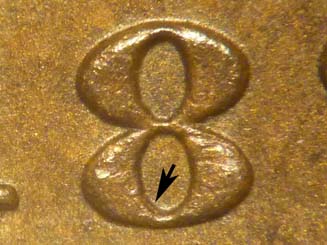 Repunched First 8 |
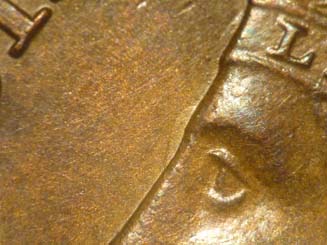 Clash Marks In Front Of Face |

Obverse 1.2 Die Crack Mapping
Reverse Diagnostics
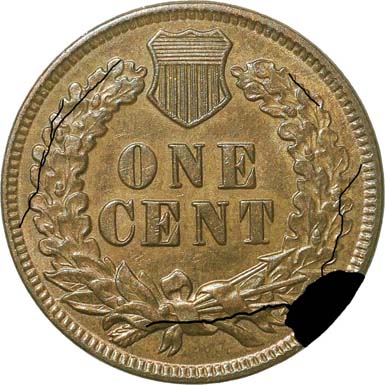
Reverse A.2 Die Crack Mapping
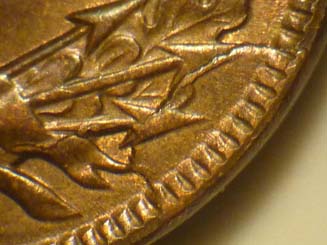 Retained Cud Between 3:45 and 4:45 |
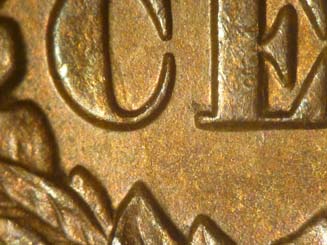 Clash Mark Through The C Of CENT |