 |
 |
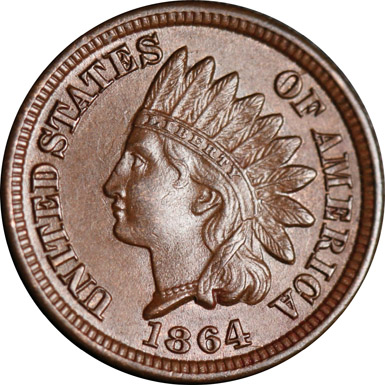
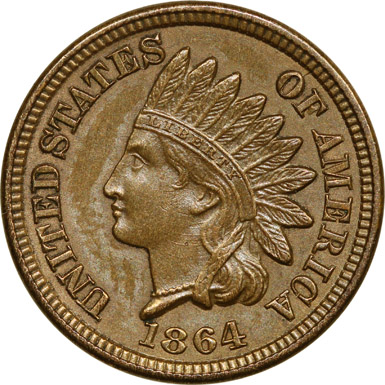
Obverse 20 |
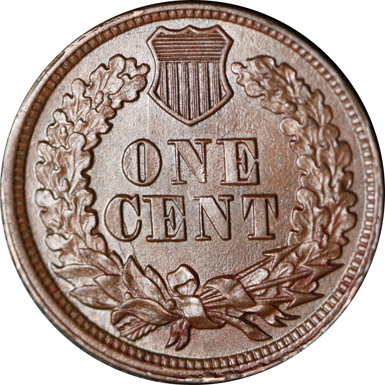
Reverse W |
Obverse Diagnostics
| Obverse 20 Date Position and Lathe Lines | ||
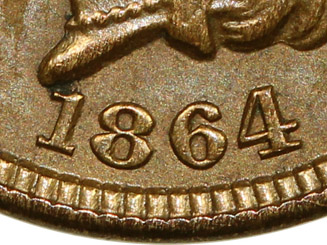 Date Position |
 Lathe Lines (Click Image To Enlarge) |
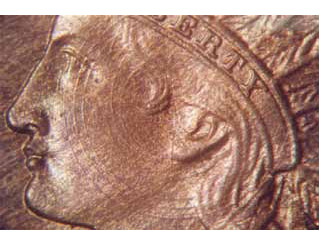 Lathe Lines Of Mint State Example |
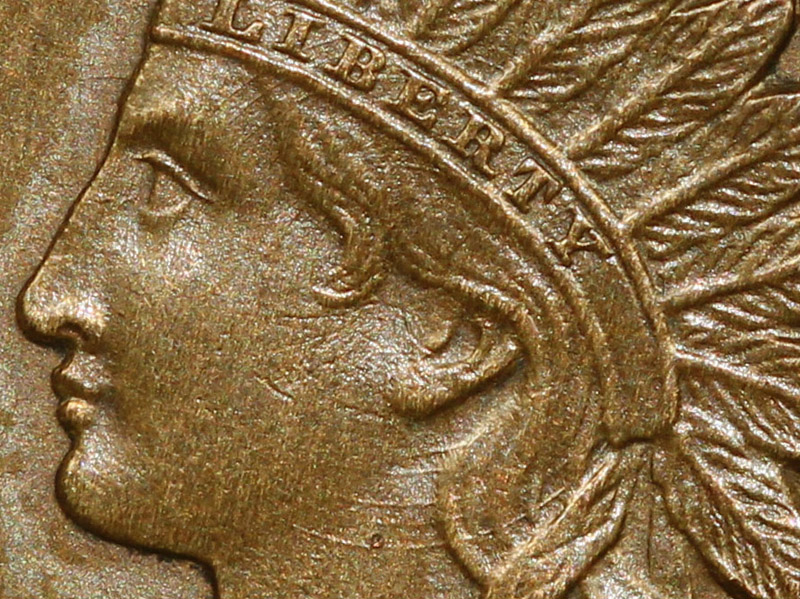
| Macro Photography Of Obverse 20 Lathe Lines Locations | ||
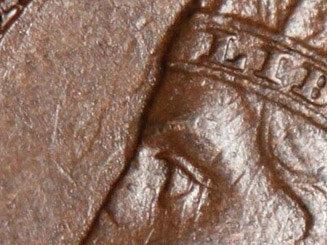
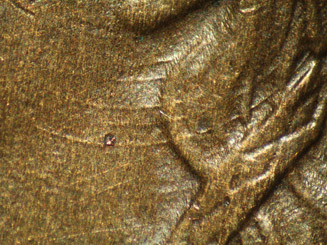 Neck and Hair Curl |
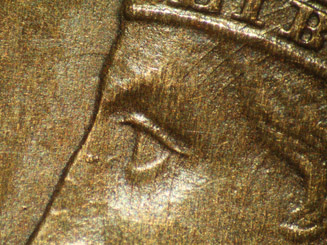 Eye and Temple |
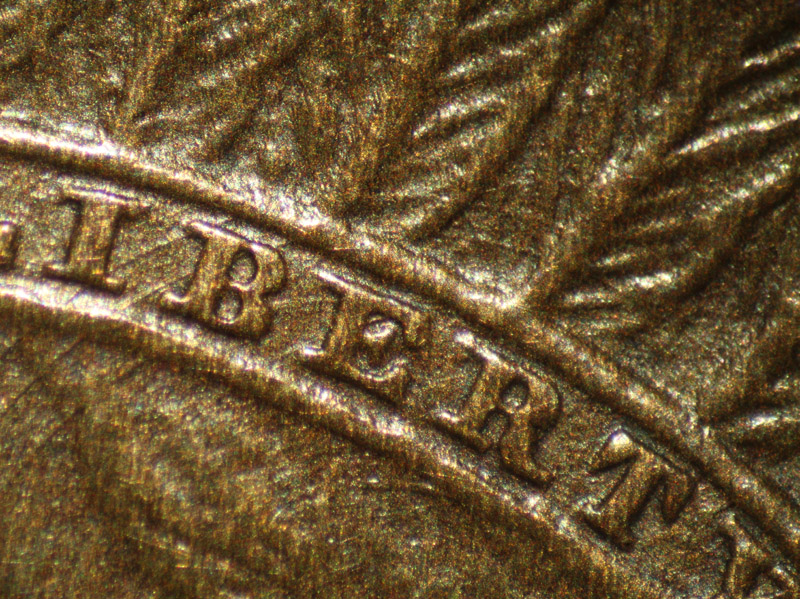 'LIBERTY' and Feathers (Click Image To Enlarge) |
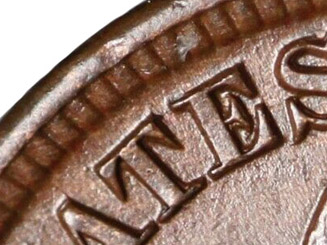
| Macro Photography Of Obverse 20 Working Hub Artifact At 'S(T)ATES', Working Die Artifact Above '(O)F' and Clash Mark | ||
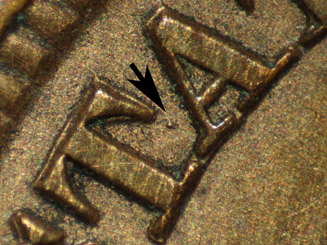 Working Hub Artifact |
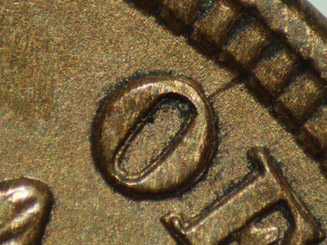 Working Die Artifact |
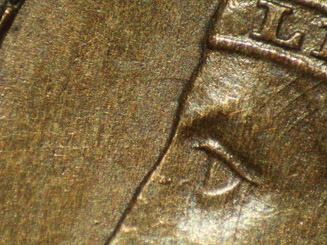 Clash Mark In Front Of Eye |
| Macro Photography Of Obverse 20.2 Clash Marks and Die Crack | |
 Obv. 20.2 Clash Marks In Front Of Eye |
 Obv. 20.2 Die Crack Connecting 'STA(TE)S' |
Reverse Diagnostics
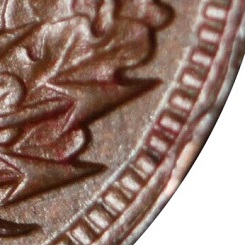
| Reverse W Rim Break Locations | |||
 Between 1:00 and 1:45 |
 Between 2:15 and 3:00 |
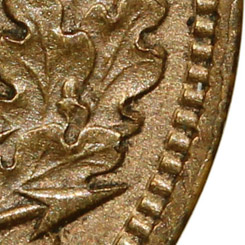 Between 3:00 and 3:45 |
 Between 4:45 and 5:45 |
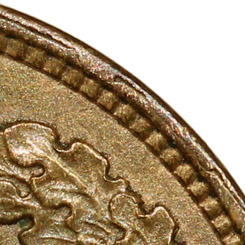
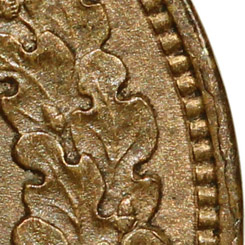
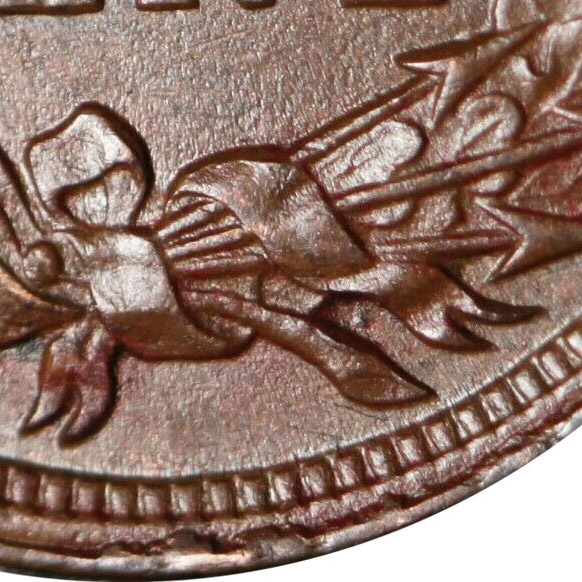
| Macro Photography Of Reverse W Die Crack, Clash Mark and Reverse W.2 Clash Marks | ||
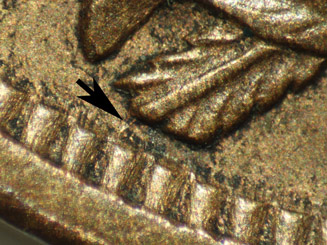 Die Crack From 7:00 |
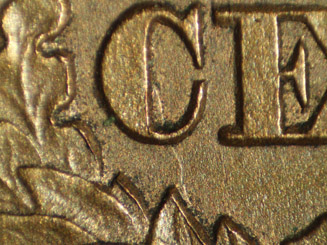 Clash Mark Through (C)ENT |
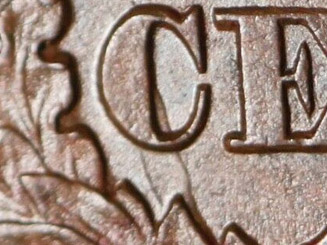 Reverse W.2 Clash Marks Through (C)ENT |
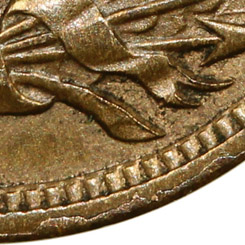
| Reverse W.2 Rim Break Locations | |
 Between 4:00 and 4:15 |
 4:45-6:00 (Click Image To Enlarge) |